How to Make a Bamboo Teepee Trellis for Climbers
Make a simple freestanding cane teepee for annual climbers from bamboo canes and twine, with steps for spacing, tying, planting and looking after it through the season.
Project at a glance
What you need
- 5 to 8 bamboo garden canes
- Garden twine
- Scissors
- Gardening gloves
- Cane caps or small pots
- Annual climber seedlings
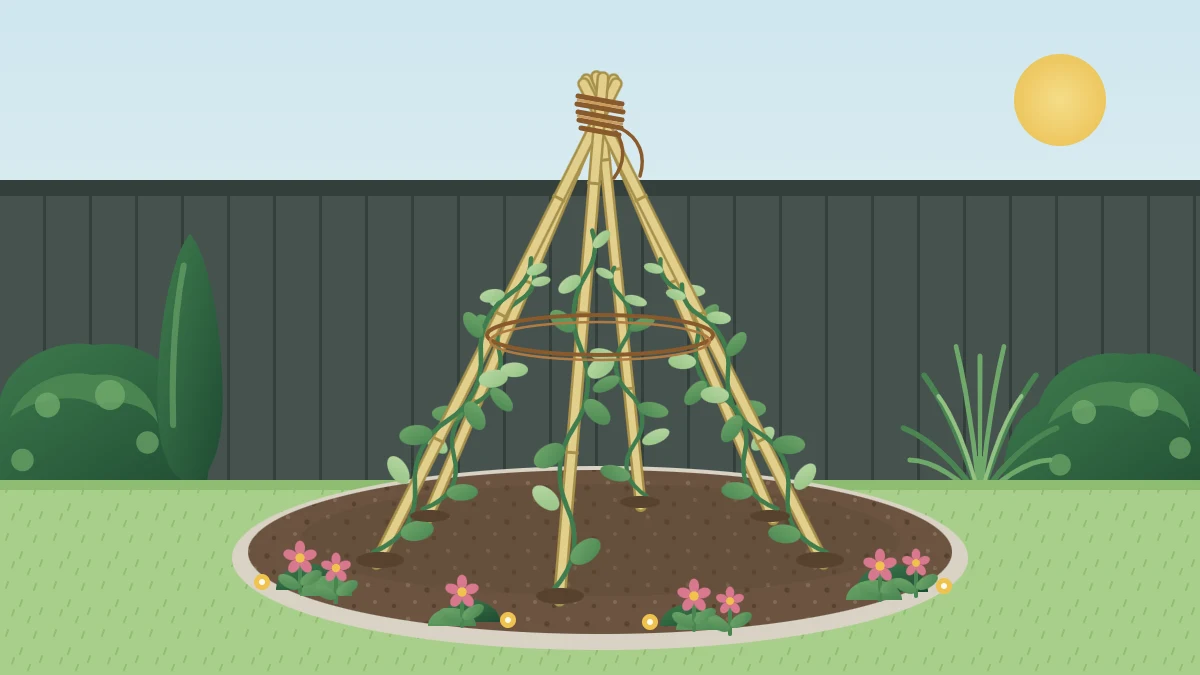
Some garden projects need a weekend and a trip to the lumber aisle. This one needs a handful of canes, a ball of twine and about half an hour. A bamboo teepee trellis is a cone of canes pushed into the soil and tied at the top, and it gives annual climbers a way up in a spot where there is no fence or wall to use.
It is a seasonal support, not a permanent one. You put it up in spring, let light climbers cover it through summer and take it down at the end of the year. That makes it a low-commitment way to try height in a bed or a large planter before you invest in anything lasting.
Why a teepee works in a small garden
A teepee takes up a circle of ground only a couple of feet across, yet it lifts flowers and foliage to eye level. In a small bed that single tall shape acts as a focal point, giving low planting something to gather around.
Because it stands on its own, you can place it wherever the design needs height: the center of a round bed, the back corner of a border or a big planter on the patio. It is one of several freestanding ways to grow upward, and the wider guide to vertical garden ideas for small spaces shows how it compares with the rest.
What you need
- Five to eight dried bamboo garden canes, all the same length. About 6 to 8 ft (roughly 1.8 to 2.4 m) is a common starting point, since part of each cane goes into the soil.
- Garden twine, natural jute or similar.
- Scissors.
- Gardening gloves, because cane ends can splinter.
- Cane caps or small upturned pots to cover the tips.
- Seedlings of an annual climber.
More canes make a fuller cone and give you more planting positions; fewer canes make a lighter, more open shape. Six is a good number for a first try.
Pick the right spot and the right plants
Most annual climbers flower best in sun, so choose a place that gets good light for much of the day. Keep the teepee a step back from paths and seats so nobody brushes against the canes, and make sure you can reach all the way around it to pick and tidy.
A cane teepee is meant for light annual climbers. Sweet peas and pole beans are the classic choices. Morning glory and its relatives are also grown this way, but some of them spread aggressively and are listed as invasive in certain states, so check your local invasive plant list before sowing them. For perennial climbers and other options, see the guide to climbing plants for small gardens.
Good to know
A teepee is a light, temporary support for one season of annual growth. It is not suited to woody or long-lived climbers. Check it after wind, push any loosened canes back in and retie the top if the twine has slipped.
How to make the teepee, step by step
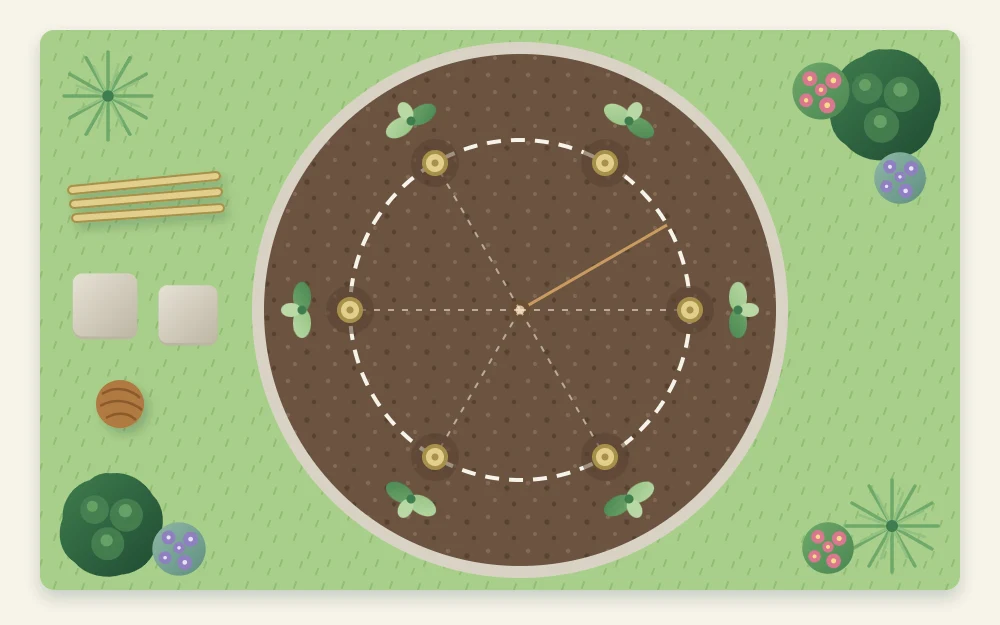
- Mark a circle. Scratch a circle on the soil with a cane tip. As a rough starting point, make it about 2 to 3 ft (60 to 90 cm) across; a wider circle gives a squatter cone, a narrower one a slimmer cone.
- Mark the cane positions. Make evenly spaced marks around the circle, one per cane. Even spacing is what makes the finished shape look neat.
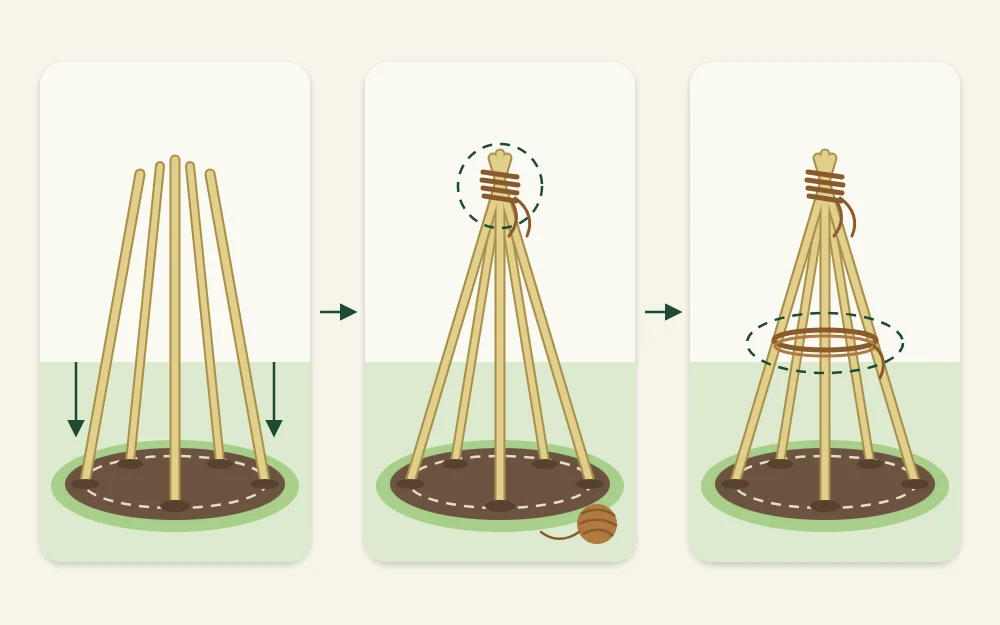
- Push in the canes. Wearing gloves, push each cane into the soil at its mark, leaning it inward toward the center. Go deep enough that the cane does not rock when you let go. If the soil is hard, water it first and wait a few minutes.
- Gather and tie the tops. Bring the tops together where they cross. Wrap twine around the bundle several times, weaving it between a few canes as you go, then knot it firmly.
- Add rings of twine. Tie twine to one cane about a third of the way up, then run it around the cone, looping it once around each cane before tying off. Add a second ring higher up. These horizontal lines give tendrils and young shoots something to grip between the canes.
- Plant at the base. Set one or two seedlings beside each cane, on the inside or just outside the circle, and water them in.
- Guide the first shoots. Lean each young shoot against its cane and, if it flops, tie it loosely with a short piece of twine. Once the plants find the cane they usually carry on by themselves.
- Cover the tips. Fit cane caps or small upturned pots over any cane ends that sit near eye level.
Making it look good
A teepee is on show for weeks before the plants cover it, so its outline matters. Stand back after tying the top and check that the canes lean at the same angle. Adjust any that stick out; it is easy now and awkward later.
Plant something low around the base, such as compact annuals or herbs, to hide the bare lower stems that climbers often develop by midsummer. In a border, repeat the shape: two or three matching teepees spaced along the bed set up a rhythm that one alone cannot.
Tip
Using a teepee in a large planter? Push the canes in around the inside edge of the planter so the cone is as wide at the base as the container allows, and place the planter out of the wind.
Through the season
Look the teepee over every week or two. Tuck stray shoots back toward a cane, and retie anything that has come loose. Natural twine weathers over a summer, so add a fresh wrap at the top if the old one looks thin.
When the plants finish in fall, cut the twine, pull the spent stems away and lift the canes. Brush off the soil, let the canes dry and store them under cover; ones that are still sound can be used again next year, and any that have gone brittle should be replaced.
When you want something permanent
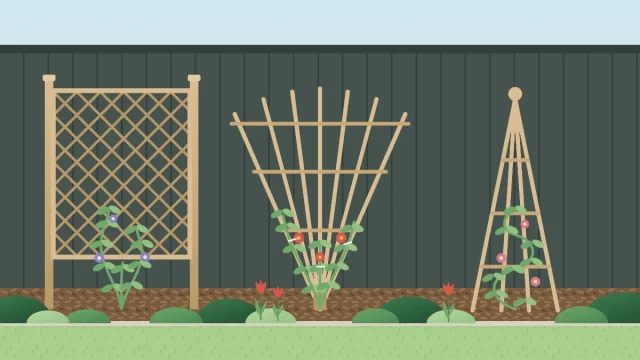
If the teepee proves that height works in that spot, the next step is a lasting support. Metal or wooden obelisks give the same cone shape year round, and panels or arches open up other uses. The guide to trellis shapes and where to place them covers the choices.
Frequently asked questions
How many canes do I need for a teepee trellis?
Five to eight canes of the same length is the usual range. Fewer canes give an open, airy cone with fewer planting positions; more canes give a fuller shape and a denser cover of foliage. Six is an easy number to space evenly and a sensible choice for a first attempt.
Can I leave a bamboo teepee up all year?
It is better treated as a seasonal support. Dried canes and natural twine weather outdoors, and annual climbers finish in fall anyway. Taking the teepee down, drying the canes and storing them under cover helps them last, and lets you check each one before using it again the following spring.
Which plants grow well on a cane teepee?
Light annual climbers are the best match, with sweet peas and pole beans the most common choices. Twining and tendril plants grip canes and twine rings without much help. Check your local invasive plant list before sowing vigorous self-seeding vines, and consider a permanent support for woody or long-lived climbers.